|


 |
|
The amplifier is now in place. It has a permanent live, an
earth connection, and a switched live from the radio to switch it on when the
radio is turned on.
Now for the speakers.
 |
The side luggage trim is pulled away by removing
the carpet and the rear floor plastic trim, then removing a single screw from
the side plastic trim panel. There are two plastic one way plugs securing the
side trim to the floor, remove these carefully. The extreme end of the panel is
fitted below the hatch doorseal, remove these and carefully pull the side panels
away from the sides. It is flexible enough to bend it to gain sufficient room.
Remove the old speaker housings, and cut off the speaker connection plugs.
These are no longer required - leave them on the old speakers in case you need
to reinstall them.
Now connect each of these original speaker leads to the left and right
speaker inputs on the amplifier. Extend the wires if necessary using good
quality wire and don’t mix up the polarity of the wires. This would affect the
sound. |
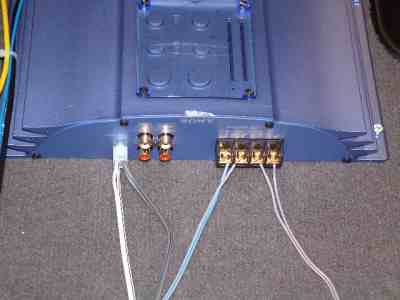
| The high level inputs have been connected to the
amplifier, here shown on the left. The speaker outputs are the gold plated
connections on the right. These are led back to the enclosures and connect to
the speakers.
Each of the wires are stitched into the carpet seatback with cotton thread to
prevent them being dragged about when the seat is down.
The phono plugs in the middle are the RCA connections. Unfortunately, I can’t
use them unless I change the head unit, because the Ford 7000 does not have RCA
outputs. |
 |
 |
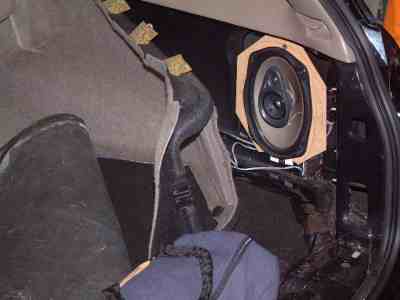
Now pieces of 25mm MDF are cut and trimmed to fit
in the enclosure and bolted top and bottom through the original mounting holes.
The speaker is mounted to the MDF with four screws and these are tight. If the
speaker is free to vibrate the sound quality will deteriorate sharply. Here,
on the offside rear, allowance has to be made for the fuel cutoff switch, which
can just be seen on the right hand side of the MDF mounting.
The wires from the amplifier output are soldered to the speaker terminals and
then the trim panel can be replaced.
If you do not have a soldering iron then use correct size terminals. Do
not twist the wires on to the speaker terminals and hope for the best – they
will vibrate loose and cause a bad circuit which may blow the amplifier! |
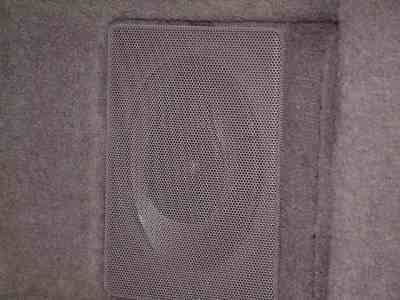
| The
finished result. Only a very careful inspection will reveal the high quality 6X9
speaker in the original enclosure.
Although this siting is not ideal for sound quality, at least it is not an
advertisement to thieves who are very active in my area.
A better location would be in each side of the rear estate door, facing
forward. But the depth of the speakers means that about 75mm would protrude out
of the door and this would be very obvious to a thief. If they spot the speakers
they might start to look for an amp, and break in to do it! |
 |
 |
The
original speaker and housing compared with the Pioneer 6X9.
The Ford speaker (surely this cannot be a premium speaker?) has two simple
fibre cones. The Pioneer is a three way device; a rigid large cone for bass, a
smaller cone for mid range, and beside it is the tweeter.
A tiny circuit inside the speaker separates the different frequencies and
feeds them to the correct device.
Excellent. |
EricR |
|
