| 1. I removed the HBC (two screws, three multiplugs), temperature
sensor (no screws - just pull), the evap housing cover (four clips) and pollen
filters. Also I removed the rubber seal from top of the bulkhead extension as
well as the battery cover. |
 |
| 2. I removed the bulkhead extension from the battery side (no
screws - just lift it upwards to release it from two "pins" which connect it to
the rest of the bulkhead extension and it will easily be taken off). I
disconnected the battery and took it away (two nuts and one screw). Note that
photo is for a LHD vehicle! |
 |
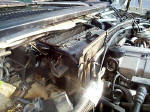
| 3. I removed one multiplug from the vacuum housing. I
disconnected the vacuum motor arm (one screw on the arm) and then took away the
vacuum motor (released two nuts which are holding the vacuum motor on the side
of the evap housing). Then I removed the vacuum housing (one screw). |
 |
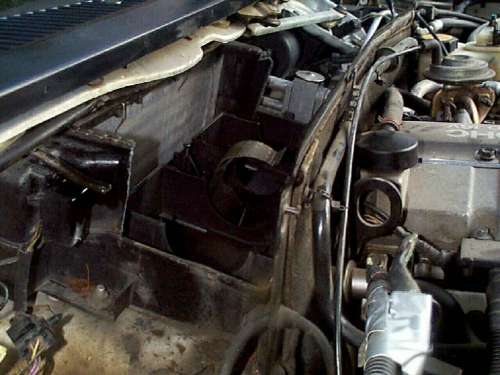
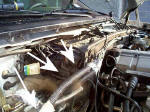
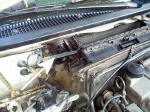
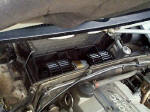
4. This picture shows the space available for cutting the evap
housing (it was just enough). It would probably have been better to remove the
windscreen linkage (three bolts and the installation lifts out as a complete
unit) for more room, but I managed without it.
|
 |
| 5. I used a hack saw blade for cutting the evap housing and it
was a very easy task especially on the battery side where I had a lot of space
to work. (Note LHD vehicle - it might be harder with the RHD vehicles) |
 |
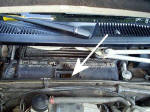
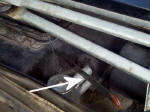
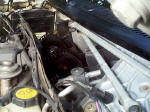
| 6. On the other side I had a lot less space to work but it was
still really easy to cut. This is a close up to show whereabouts I made the cut.
Better not cut those pipes to the thermal expansion valve... |
 |
7. After cutting the sides I had to take off two
metal clips (one from each side) which were holding the top cover to the bottom.
Use a flat tip screwdriver to pry off the clips from the top. A quick downward
and outward snap will do the trick.
Then I just tried to use some brute force and a flat tip screwdriver to lift the
cut part off from the evap housing - but of course I couldn't get it off...
There was still one screw on the bottom of the evap housing (can be reached from
the evap housing cover opening). Once I found this screw the cut part could be
quite easily lifted. (There is a rubber seal between the lower and the upper
part of the evap housing and it was sealed with glue). The space to remove the
cut part completely is really tight so I had to squeeze, turn, pull and push
(don't remember in which order) to take it away - but I proved that it can be
done! |
 |
 |
 |
| 8. The blower motor is held in it's place with a strap. I
removed one screw, lifted the strap and finally I had my blower motor out from
the car. |
 |
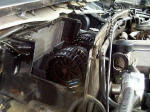
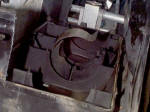
| 9. This is a close-up showing the evap housing after the motor
is removed. Here you can see the rubber seal, the holding strap and its screw on
the right. The screw which was keeping the cut piece in place (even if I tried
to lift it with some brute force) can be seen on the left. |
 |
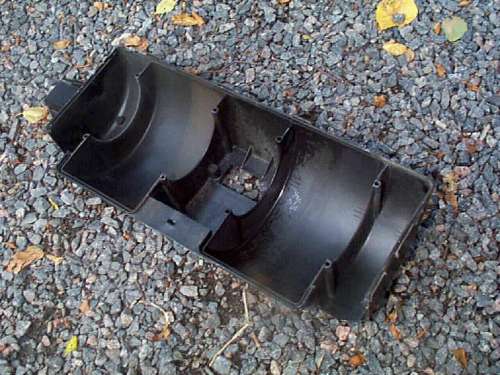
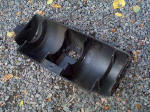
| 10. The piece of the Evap housing which I cut out. |
 |
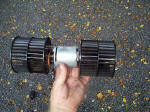
11. The blower motor had quite a lot of dirt on its collectors
and brushes. I cleaned the whole motor (there was a good procedure mentioned on Merkurman's site)
I tested the motor with a power supply to check that it no longer made any
strange noises. |
 |
I just assembled it back in reverse order. The cuttings are now covered with
some duct tape and cool air comes again into my Scorpio reliably and without any
funny noises.
|