|


|
|
| Upgrading your radio. (From a 2006 to a 7000) |
|
Recently I went to a Ford car show at Castle Donnington and came across a stall
that had the latest RDS 7000 radio in a walnut finish, on display. Asked the
chap behind the counter how much? His reply was £120.00 and they are brand new,
complete with codes etc. He had bought a job lot from Ford.
Needless to say I had to buy one. Never mind about the wiring, Iíll sort that
somehow.
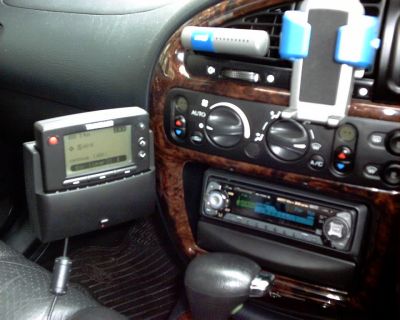
So below is the conversion I carried out on my 2.9 24V Cosworth Executive model
that was fitted with the 2006 series radio.
|
| From this. |
To this. |
 |
 |
| |
|
As the 2006 is not fitted with a remote amplifier
the job is basically very simple. What you will require however is a later Radio
interface module, which I got from a Ford main dealers for £29.00.
Disconnect the battery negative if you wish. I didnít.
Firstly remove the old 2006 and remove the plugs from the rear of the unit,
which are the power (7 pin) Ė speaker (8 pin) Ė remote control (2 pin) and
aerial.
Now plug them all into your new Rds 7000 unit.

Plug in the aerial and as in my case, I had also bought a Visteon 2080 CD player
so this was also just a case of plugging it in to the rear of the 7000 unit.
Before putting the radio into the aperture, I had to remove the small
compartment which was underneath the old 2006. This involved trimming the
plastic lugs with a small hacksaw.
Once this is removed you can then drop the 7000 unit into place and Wow! doesnít
that look great.
Now, above the accelerator and brake pedal there is a small bit of carpet like
trim that is removed by pulling the four plastic fir trees out of their holes
(two at the front and two at the rear) .
If you feel underneath here or are lucky enough to be able contort yourself and
get your head under and look, you should be able to see the Radio interface
module.
Grab hold of it and slide it towards the inner of the vehicle and it should be
sitting there nicely in your hand. Unplug it and plug in your new unit.
Below is a photo of my old and new Radio interface modules.

The one with the yellow sticker is my original unit Part number 7 272 138
The other with the blue sticker is the new one, Part number 7 272 139
Thatís it, put the new module back into place and the trim, hopefully everything
should be working. Try it and see.
|
| Below are a couple of pictures of other radio
upgrades. |
 |
 |
|
|

![]()
